Thursday, December 2, 2010

Christmas House almost completed...


Ok...I've been neglectfull of my blog but I have not been idle. Here are some pictures of the Micheals Puzzle House that I talked about working on. It's still not done, I ran out of shingles and need to order more. Then there is the back corners to cover, floor edges to finish and the base bricked. The brick paper is definitly coming off and I plan to use some air dry clay or egg cartons to stone or brick, haven't decided. Deciding factor will be which is the easist. LOL I have a kitchen and a bathroom kit to put together for this house. It was a lot of fun and it really makes me confident to attempt a full scrap build with blue prints and all. I've been seeing a lot of stick built dollhouses and many built with foamcore that look just like wood. When done correctly it looks like the foamcore holds up over time just as well. I may get my Louisa May Alcott house after all. I have some smaller projects planned...easy quick but detailed enough to keep me happy. At least that way I will have some projects completed and available to display. I made a Halloween scene on a picture frame for my brother following Joann Swanson's blog. I will find the pictures and post them here. Her blog is amazing and her instructions so easy to follow. Her SugarPlum scene is on my list...Geez that list is getting long. So many ideas and so little time!

Thursday, September 2, 2010

OOOOPPPSSS!

Well, I have some bad news and some good news. Bad news is I shorted out my electrical system. I was installing the last bit of tapewire on the top two rooms. When I went to test them my hand slipped and ALL the lights went out in the dollhouse. I shut the power off, undid the connection and turned it back on praying it would work, but it didn't. I don't know what part I broke. I tested the lead in wire and that's fine but as soon as I plug it in to my junction splice the tapewire that comes immediately from that doesn't work. I have my fingers crossed that somehow I only messed up my junction splice. So now I have to place an order for that which leads to the good news. . .

Since I really "need" the junction splice I figured I couldn't buy something that has shipping higher than the cost of the item, sooooo that means I need to add to my order :) and it couldn't happen at a better time. Miniatures.com is having a 20% off Labor Day sale and I am going to get all the structual pieces to transform the Puzzle House into my dream Christmas Cottage. I have picked out the windows and door. Thanks to Emily Morganti's blog http://www.emilymorganti.com/blog/?tag=michaels-puzzle-house I was able to order the windows and I know that they will work. I chose a different front door though. I had thought about putting in ceiling lights but with how my luck was going I think I will just use round wire and plugs so I can have Christmas lights on the porch and a lighted Christmas tree. I'm playing with the idea of making a older tv with a still picture from a Christmas Cartoon and lighting it from the inside with a tiny light to make it appear as if it works. If anyone knows of an existing 1/2scale mini tv like I described for sale I'd love to check it out. I remember when I was little watching Charlie Brown's Christmas, Frosty the Snowman and all the classic cartoons while my mom baked goodies and the tree was lit. Nothing says Christmas more than that to me. I hope to incorporate all these memories into this little house. And with fall coming on and winter right around the corner I am getting more and more anxious to begin.

I did get more done on my Gloucester even after I blew the electrical. I got the front door painted and hung as well as painted the right side so it is ready for bricking. All the trim to finish the bathroom and kitchen have been cut and is ready to be painted and installed. Once that's done all that remains to complete is the top two rooms and the rest of the lights. . .

Thursday, August 26, 2010

Michaels Puzzle House

Just a quick note to say over the weekend I made a trip to Michael's in Tucson and was so excited to finally see the puzzle houses everyone has been talking about. I couldn't resist and I got two. One looks like the Greenleaf Arthur and the other looks like a Tennyson. The one that resembles the Arthur I already have plans to turn it into a 1/2 scale Christmas house. I've always wanted a dollhouse that is always ready for Christmas and have picked out all the pieces I need to convert it into a true dollhouse. . . now just need the money. : P

YEAH! A LIVING ROOM UPDATE


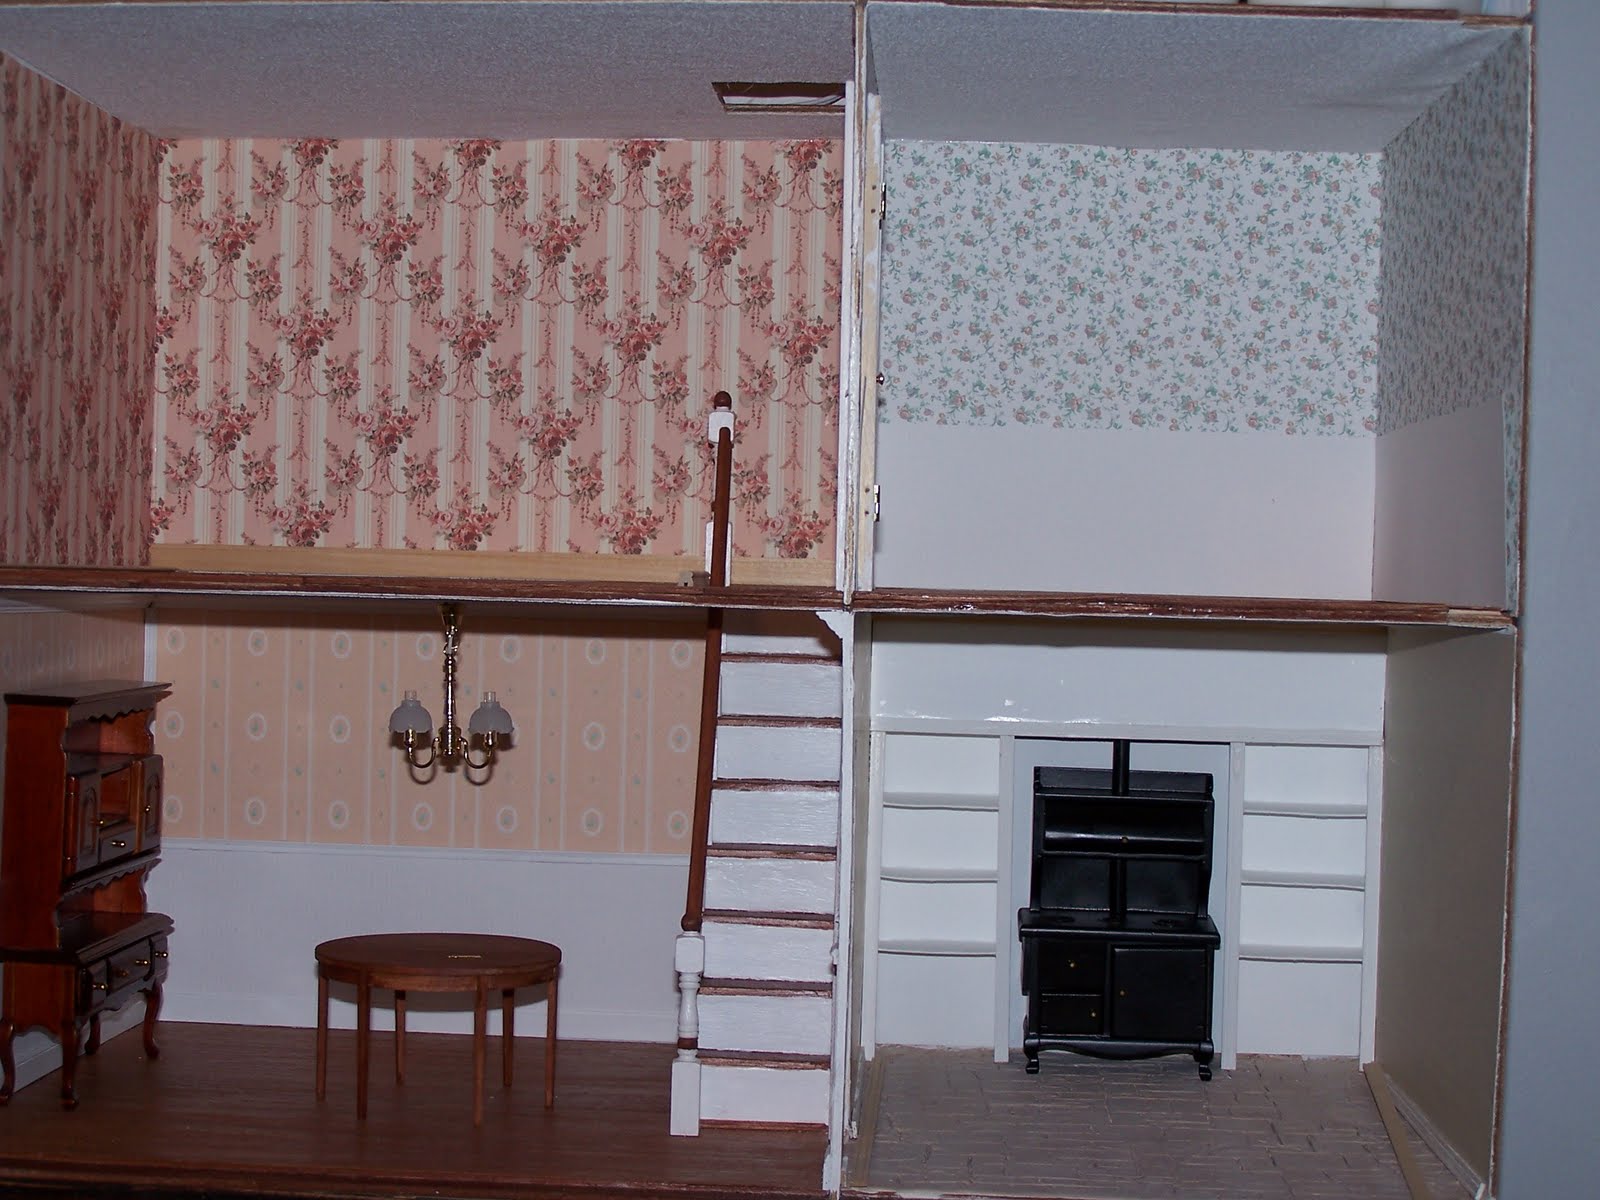
Well it's been quite awhile since I've posted anything so I figured I better put something up just to prove I've still been working. It's slow goings as I am painting trim, cutting wallpaper for the top two rooms etc, but I do have some completion to show. Here is a picture of my living room so far. I appologize for the quality of the picture. I had to use the camera on my phone as I am having issues with my SD card. Crown moulding and baseboards have been installed and the banister off the first floor staircase is in, as well as the door. The door I bought was thicker than the walls so I used some small trim to build up the door frame and am happy with the results. Now I just need to brick the inside of the fireplace and add the banister leading to the third floor and this room will be finished. I put in the sofa and a chair just to try it out.

I have some good news about the roof. After a lot of thought and starring I finally tackled the roof. Using tacky glue and adhesive caulk I got the roof on and even. Woohoo! No spaces!

After visiting Miniature Memories in Tucson over the weekend I took the advice of the lady there to use small nails to reinforce the walls and floors. According to her the dry hot air of Arizona can weaken the glue over time but with the added nails my house shouldn't fall apart. Fingers crossed here.

Now I have also used wood filler to smooth over the tab/slot indentions and began painting the house the color I want the grout to be. The front door is painted and ready for bricking as well as the left side of the house. Some more filler and paint on the right and I can start to brick.

I am still deciding whether to just paint the inside of the front door or try to wallpaper and add strips of thin wood to cover the seams and divide the rooms. . .I figure I will paint it solid then decide afterwards. At least that is something that would be easy to change after the rest of the house is finished and I can start decorating the inside that way. I get all goosey thinking of seeing the house finished. I tried to cut more trim and the pieces that will frame the base of the house and make the edges neat and decorative but for some reason (lack of sleep most like) I couldn't cut the angles correctly. I'll get to those later when my brain isn't functioning on empty. LOL

Monday, July 19, 2010

Apple Roses and Petit Pan Au Chocolat. . .


Well, as I am working on painting trim for the living room I thought I should post something pretty and not quite so boring as watching paint dry. Over the weekend my husband and I made petit pan au chocolat and apples roses. I'm not sure where he got the recipe for the petit pan but the apple roses I saw on Casey's minis and had to try them out for myself. I used the recipe on this site http://catalinakolker.blogspot.com/2009/11/apple-roses.html . I think next time though I am going to go lighter on the lemon and maybe add some brown sugar to sweeten them up some more. Otherwise I loved how they turned out and they look fabulous when completed. I know it's not mini related but it was a lot of fun to do.

Tuesday, June 22, 2010

Micro Victorian Mansion


Here are some more pictures. I finally completed the 1/144th scale Victorian mansion. I am very happy with the turn out. It took awhile for the roof pieces to come in and then I kept putting off the landscaping. But at kept my word and finished it.


I thought I had already posted the little progress that had been done on my Gloucester but I hadn't so here it is. I still have to add the ceiling trim and light to the kitchen. I had to test out some of my accessories. :) I still want to add a space saver sink, but I am worried it may seem too cluttered. The floor came out better than I thought it would especially for a first try. The built in shelves need trimming to make them appear thicker but I like the effect it has.


The wallpaper in what will become the bathroom is still in question. It is glued in except for the bead board around the bottom half of the walls. I don't know if it makes it appear too similar to the dining room or if it gives it a nice balance. But as all that is in there is wallpaper it should be easy to change if I decide against it. The blemish on the right side of the ceiling has been fixed. I appologize for the crooked picture, that is due to me not the house.


I have found the perfect light for my living room (at least I think so). I love how dainty the chains are. At first I didn't like the rose colored globes but the more I see it against the wallpaper the more convinced I am that it was made for this room. I have light in mind for the kitchen and I think it would work well in the bathroom too. It is a simple clear two arm globe hanging lamp. To me it seems like a nice gas lamp that is more serviceable than showy. We'll see.


One more note. I just received my Brimbles Mercantile Laser cut in 1/2 scale from Greenleaf. I am very excited about starting it but am determined not to begin until I have all the pieces to complete the house such as lights, slip bricks (which I am dying to try), wallpaper, shingles, etc. That should make completion faster as I won't have to wait for shipments to arrive. Now I just need to make a complete list and begin the check off process :) I love lists so this should be fun! Just one more project to add. I can hear my husband moaning from the other room already. . . hee hee. Oh well, at least he knew what he was getting into from the beginning. My art room is packed. He's already told me that when/if we ever build a house he's making sure they add a shop to it for all of my crafts. Now if I could just hit the jackpot and then I can hold him to it! :)

Monday, June 21, 2010

1st Attempt at Re-upholstering Mini Furniture


Well I am still trying to find a solution for attaching the roof to my Gloucester. The gap around the edges is so large in some places I think my best option will be applying a type of caulk thickly around the walls then pressing the roof into it and wiping away the excess.
In the meantime I decided to try something new. I bought a set of living room furniture awhile back, before I had even bought the Gloucester. It was an inexpensive 5-pc set that inlcuded two armchairs, a sofa, a coffee table and an end table. When it came in the mail I was extremely dissappointed in the fabric color and the upholstery job, it seemed to make the woodwork look clunkier than it really is. So yesterday I pulled the set out and made my first attempt at re-upholstering. It was much easier than I thought it would be and I love the results. The chair on the right is the original and the left chair is my work. I have to finish the 2nd chair and the sofa but after seeing the finished result of the first chair I can hardly wait to see the whole set in the dollhouse.