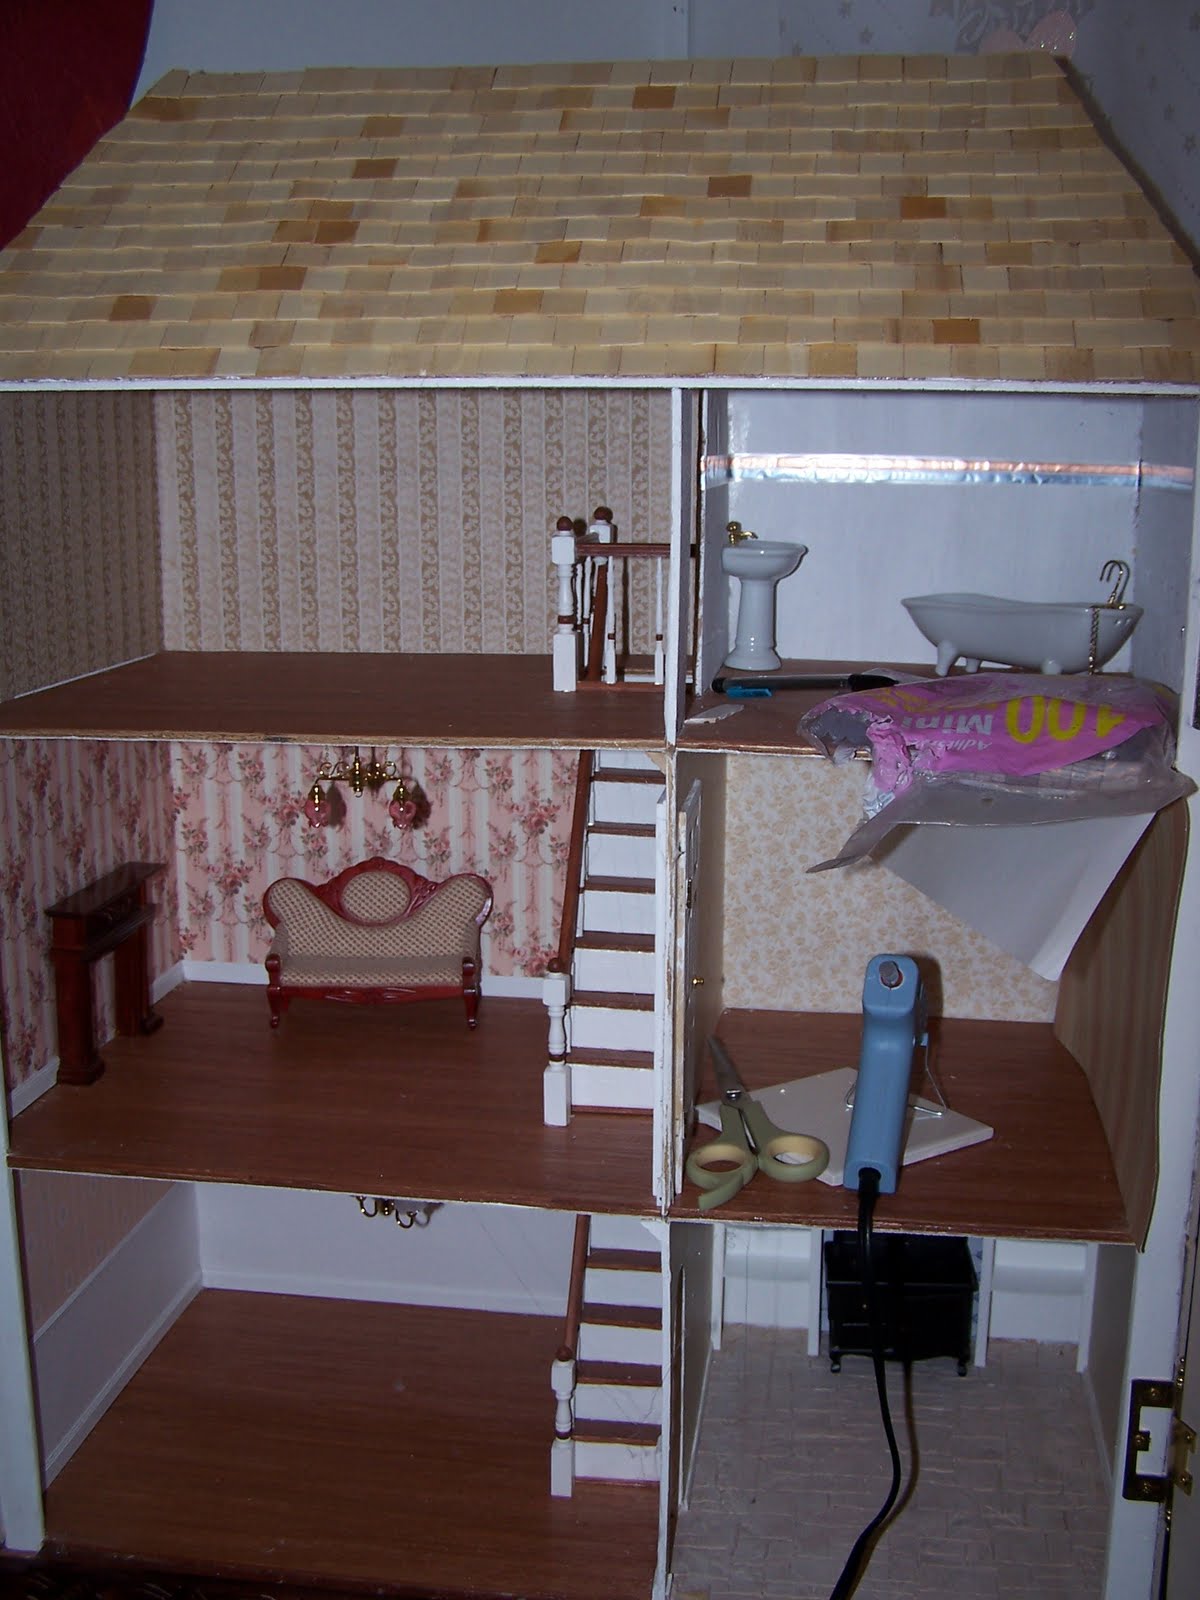
Well I have completely given up on tapewire for this house. I didn't plan well at all with it. First I messed up on the third floor and shorted something out so the junction splice had to be moved but I was soooooo thrilled that was all it took to get it up and working again. Then my dining room light started to blink and when I took it off to check it the wires snapped off. And then when I tried to test the holes they weren't connecting right. Plus, after I decided to switch and started to attach the plugs back to my lights I accidentally ripped the inside wire out of my parlour light so I will be replacing this too. Everything that could go wrong with it did....SO! I am switching to roundwire! I have been thinking really hard about this, I even was thinking of trying the battery operated lights, but the idea that I would have to turn each light on and off in six different rooms turned me. Since I am determined to have this house light up I sat down tonight and figured it out. I can't remove the trim, wallpaper or flooring without redoing all the rooms and I refuse to do that. Call me stubborn or lazy but I can't bring myself to rip out all that work. So I have been staring at the house and I have come up with two solutions. The first would be to drill itty bitty holes in the back wall (all the while hoping and praying I drill in exactly the right spot) stick the lights to the ceiling and run the wire out the back of the house. Option two: I can cut some more ceiling paper, groove the existing ceilings towards the front door, run the wires in through a hole in the new ceiling paper (where I want the lights to be in the end),lay the wires in the groove, then along the floor edge, down the inside wall-lip and through a small hole in the base and then connect to the power strip. I would then cover the edges of the floor and hide the wires at the same time with some U-shaped wood trim. Even though option two sounds more convoluted I am leaning towards this. However, in the bathroom and master bedroom I was looking at wall sconces, now I will have switch to ceiling fixtures but I can't decide which ones. Because the only way to see this light will be to bend down really far and look upside down into the room I am thinking of the following (it's inexpensive yet pretty):

For the parlour I am thinking of moving up the dining room light and putting this in the dining room :

Another option for the parlour light is this, however much I like it I'm afraid it looks too modern for my parlour:

I'm really bad at making decisions. Lights are so expensive and it's so hard to visualize what they will look like without seeing them in person I'm afraid of buying one and not likeing it. Since I'm planning on using a coupon from HBS.com I only have till tomorrow to make a decision for 20% off my order. The more expensive chandelier I'll be waiting till April 1st for 40% off. Any suggestions/opinions will be greatly appreciated.